Document

guide de nettoyage et décontamination des pipettes sartorius
guide sur le nettoyage et la décontamination des pipettes

Contenu du document
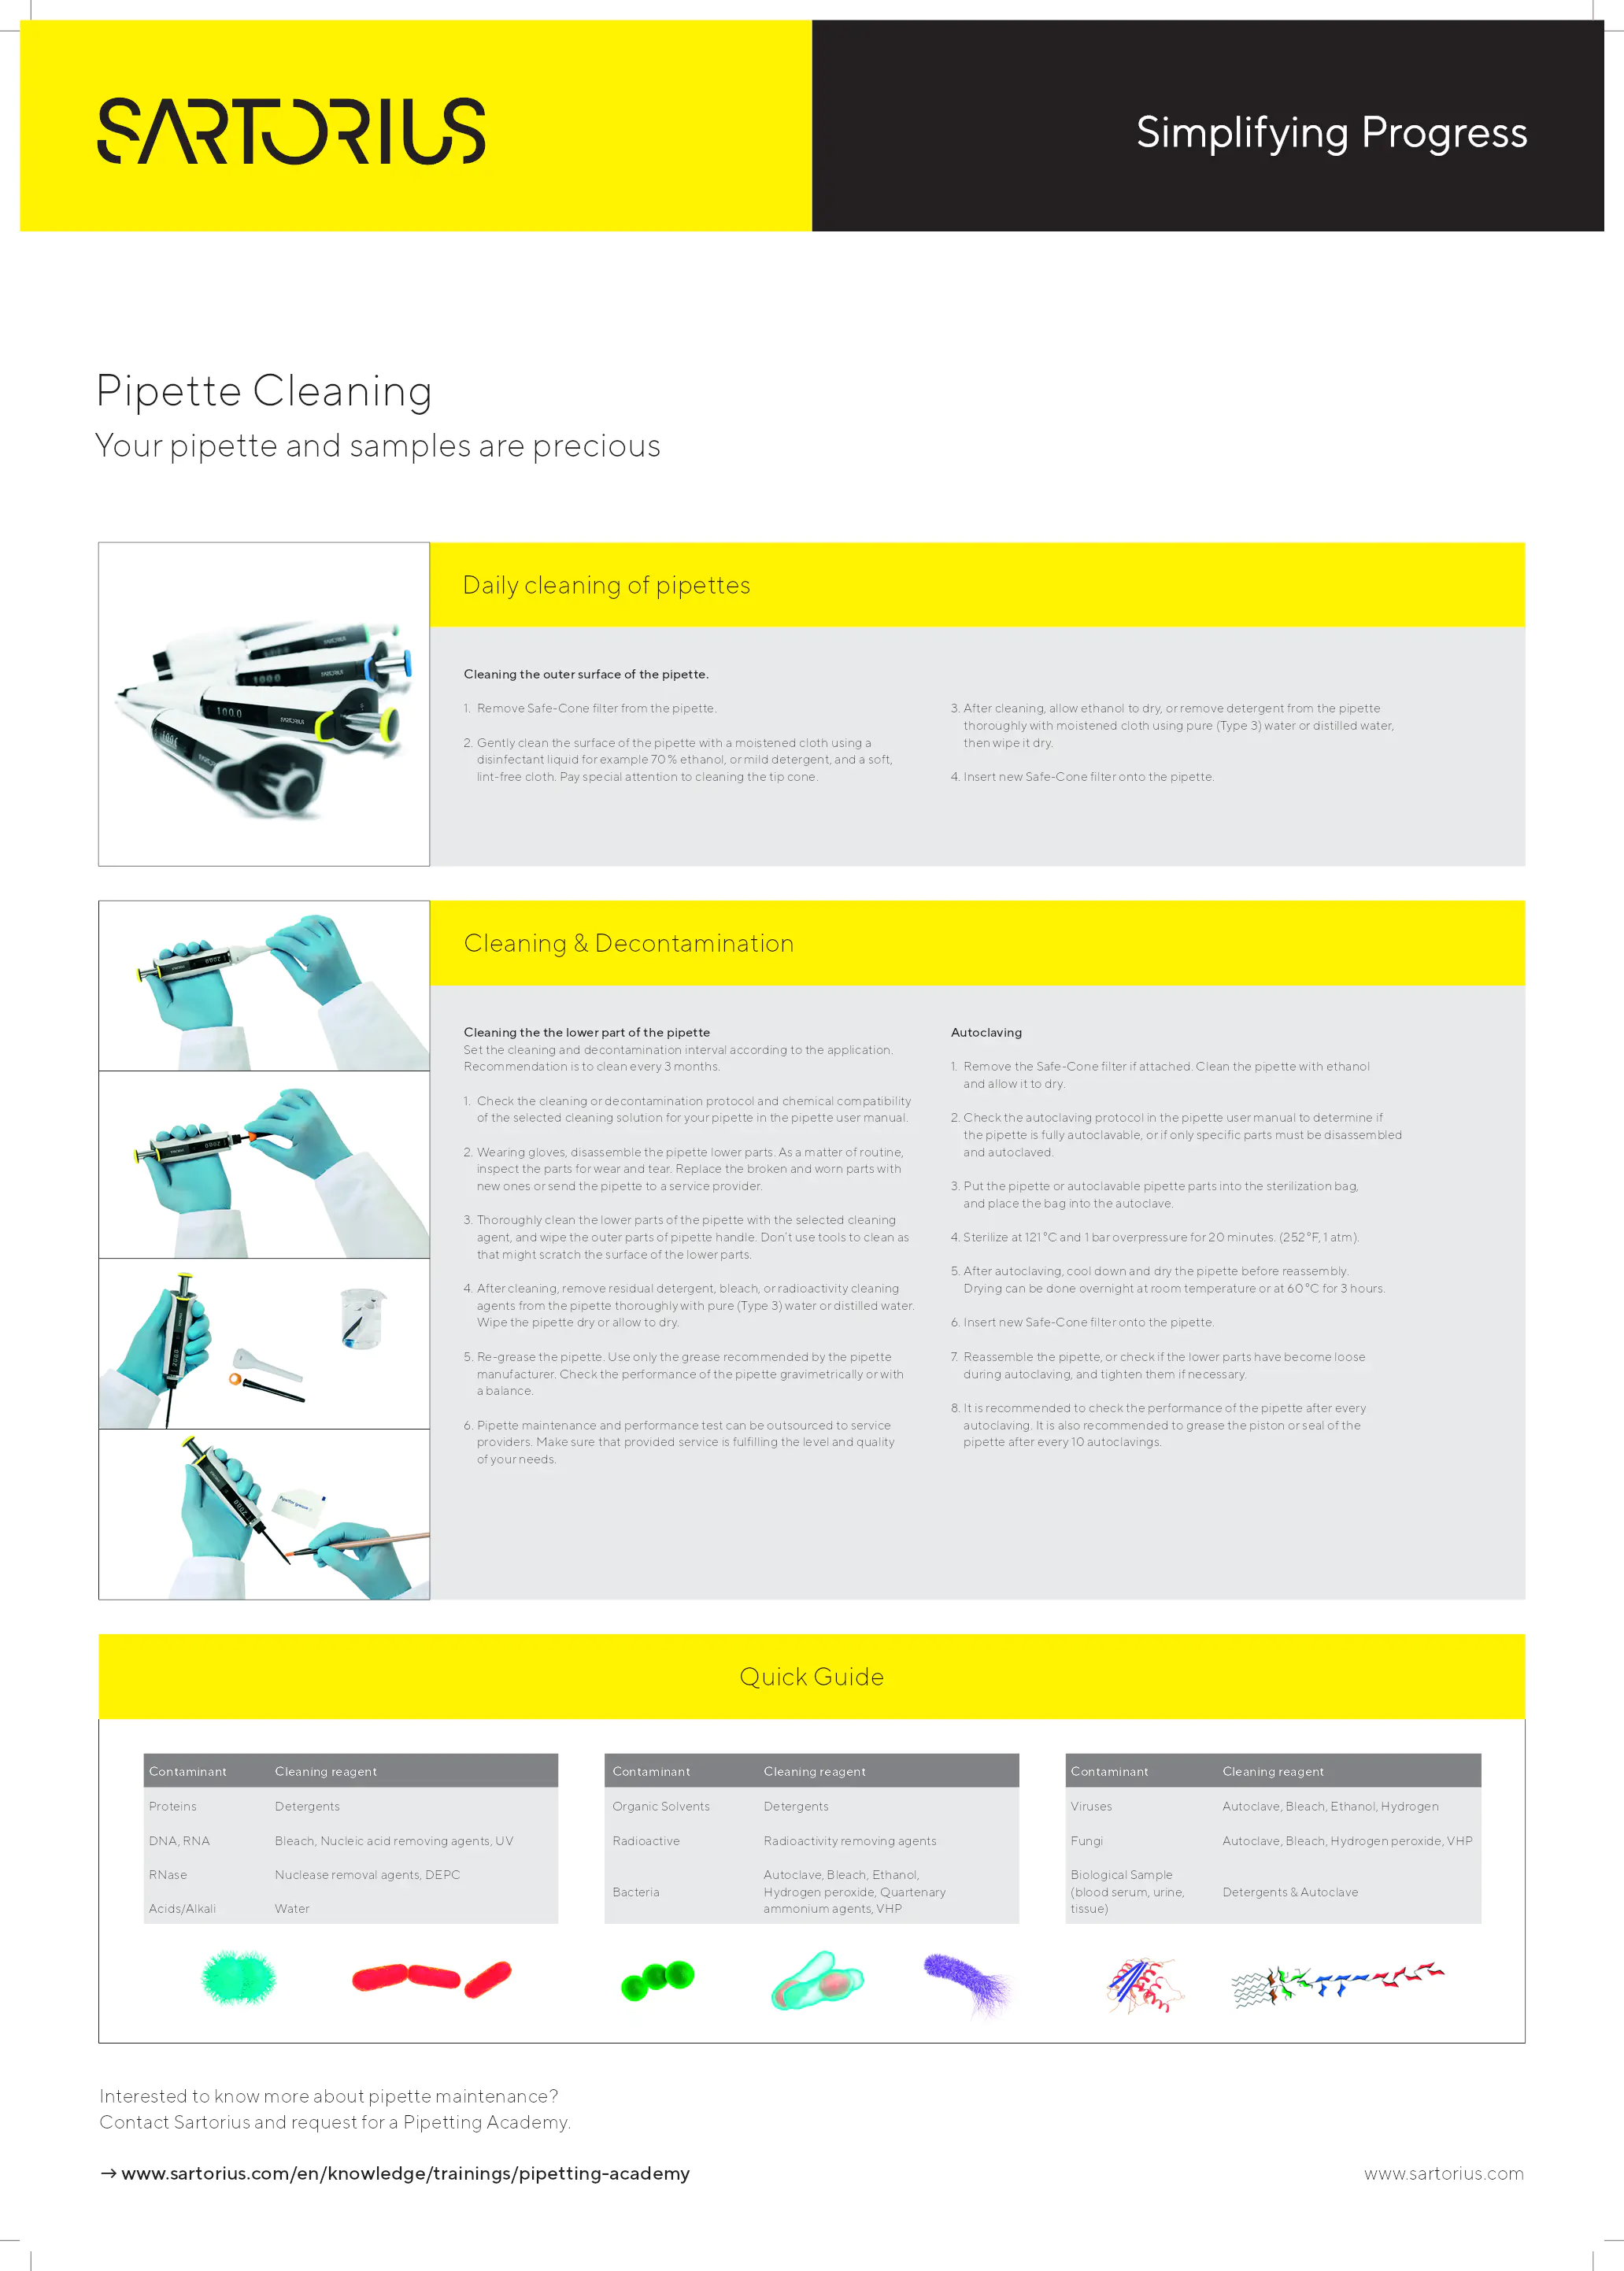
pipette cleaning
Your pipette and samples are precious.
Daily cleaning of pipettes
- Cleaning the outer surface of the pipette
- 1. Remove Safe-Cone filter from the pipette.
- 2. Gently clean the surface of the pipette with a moistened cloth using a disinfectant liquid, for example 70% ethanol, or mild detergent, and a soft, lint-free cloth. Pay special attention to cleaning the tip cone.
- 3. After cleaning, allow ethanol to dry, or remove detergent from the pipette thoroughly with moistened cloth using pure (Type 3) water or distilled water, then wipe it dry.
- 4. Insert new Safe-Cone filter onto the pipette.
cleaning & decontamination
Cleaning the lower part of the pipette
- Set the cleaning and decontamination interval according to the application. Recommendation is to clean every 3 months.
- 1. Check the cleaning or decontamination protocol and chemical compatibility of the selected cleaning solution for your pipette in the pipette user manual.
- 2. Wearing gloves, disassemble the pipette lower parts. Inspect the parts for wear and tear. Replace the broken and worn parts with new ones or send the pipette to a service provider.
- 3. Thoroughly clean the lower parts of the pipette with the selected cleaning agent, and wipe the outer parts of pipette handle. Do not use tools to clean as that might scratch the surface of the lower parts.
- 4. After cleaning, remove residual detergent, bleach, or radioactivity cleaning agents from the pipette thoroughly with pure (Type 3) water or distilled water. Wipe the pipette dry or allow to dry.
- 5. Re-grease the pipette. Use only the grease recommended by the pipette manufacturer. Check the performance of the pipette gravimetrically or with a balance.
- 6. Pipette maintenance and performance test can be outsourced to service providers. Make sure that provided service is fulfilling the level and quality of your needs.
Autoclaving
- 1. Remove the Safe-Cone filter if attached. Clean the pipette with ethanol and allow it to dry.
- 2. Check the autoclaving protocol in the pipette user manual to determine if the pipette is fully autoclavable, or if only specific parts must be disassembled and autoclaved.
- 3. Put the pipette or autoclavable pipette parts into the sterilization bag, and place the bag into the autoclave.
- 4. Sterilize at 121 °C and 1 bar overpressure for 20 minutes. (252 °F, 1 atm).
- 5. After autoclaving, cool down and dry the pipette before reassembly. Drying can be done overnight at room temperature or at 60 °C for 3 hours.
- 6. Insert new Safe-Cone filter onto the pipette.
- 7. Reassemble the pipette, or check if the lower parts have become loose during autoclaving, and tighten them if necessary.
- 8. It is recommended to check the performance of the pipette after every autoclaving. It is also recommended to grease the piston or seal of the pipette after every 10 autoclavings.
quick guide
Contaminant | Cleaning reagent
- Proteins | Detergents
- DNA, RNA | Bleach, Nucleic acid removing agents, UV
- RNase | Nuclease removal agents, DEPC
- Organic Solvents | Detergents
- Radioactive | Radioactivity removing agents
- Acids/Alkali | Water
- Viruses | Autoclave, Bleach, Ethanol, Hydrogen peroxide
- Fungi | Autoclave, Bleach, Hydrogen peroxide, VHP
- Biological Sample (blood serum, urine, tissue) | Detergents & Autoclave
Interested to know more about pipette maintenance? Contact Sartorius and request for a Pipetting Academy. Visit www.sartorius.com/en/knowledge/trainings/pipetting-academy for more information.
Entreprise(s) concernée(s) :
Date d'upload du document :
vendredi 17 février 2023
Document protégé
Document uniquement accessible aux visiteurs connectés
Pas encore de compte ?
Inscrivez-vous
Déjà un compte ? Cliquez ici pour vous connecter
Connectez-vous
